Privilege Management for Windows (PMFW), provides the security of a limited-user account and the flexibility of elevating to an administrator account on demand.
Installing Applications
The process of using Privilege Management for Windows to install applications can very slightly depending on which version of Windows you are using.
Windows 11
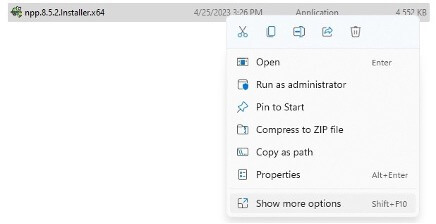
Right click on your downloaded .exe file of the application you wish to install
Choose “Show More Options” from the context menu
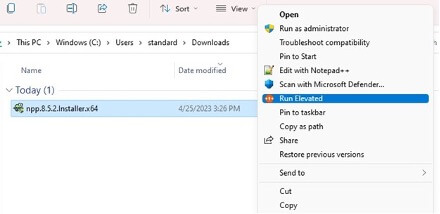
Choose “Run Elevated” from the extended context menu
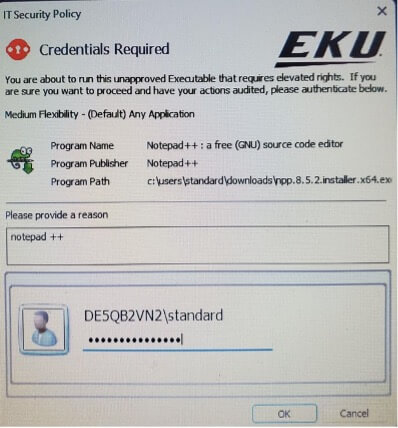
You will now get a popup for Privilege management for Windows
Please put the software’s name in the justification box and enter your password in the password box
Windows 10
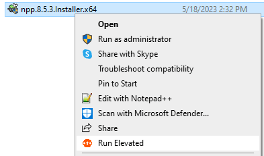
Right click on your downloaded .exe file
Choose “Run Elevated”
You will now get a popup for Privilege Management for Windows
Please put the software’s name in the justification box and enter your password in the password box
Uninstalling Applications
PMFW is set up to allow most programs to be uninstalled from add/remove programs without prompt of Windows 11.
Managing Network Settings
If you are on Windows 11, Go to the start menu, go to “All Apps”
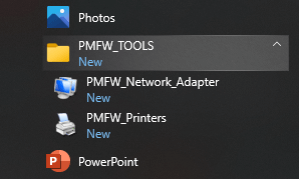
Find the folder named PMFW_TOOLS
Inside the folder, you will find the PMFW_Network_Adapter.lnk – Shortcut
Click on that and you will be able to manage network options
If you are on Window 10, go to the Start Menu, and scroll down to the folder named PMFW_Tools
Inside the folder, you will find the PMFW_Network_Adapter.lnk – Shortcut
Click on that and you will be able to manage network options
Managing Printers
Go to the start menu, go to “all apps” and find the folder named PMFW_TOOLS
Inside the folder, you will find the PMFW_Printers.lnk. Click on that and you will be able to manage printer options.
If you are on Window 10, go to the Start Menu, and scroll down to the folder named PMFW_Tools
Inside the folder, you will find the PMFW_Printers.lnk. Click on that and you will be able to manage printer options.