Basic instructions for how to install and configure the Milestone VMS Mobile client. This is an application installed on a mobile device (including Apple iPad) that allows a user to view Security Cameras they have access to.
Prerequisites
Before attempting to utilize this application, the following things need to be completed.
You need to be assigned access to the Milestone VMS software (contact details here)
The iPhone/iPad/Android device needs to be connected to the eku_secure wireless network
Installation
iPad/iPhone
Open the App Store on your device
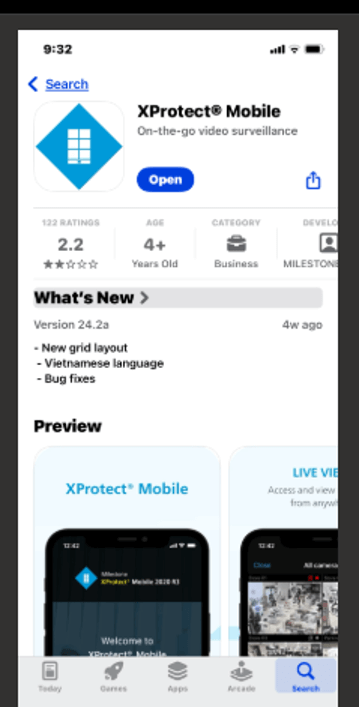
Search for Xprotect or Milestone – The application looks like this:
Open the Google Play store (or the normal store app you use on your device)
Search for Milestone
Select the correct one (need screenshots)
Install the application
Configuration
The essential configuration steps are the same on both systems. As a reminder, ensure you are connected to the eku_secure wireless network. This software won’t work unless that step has been completed.
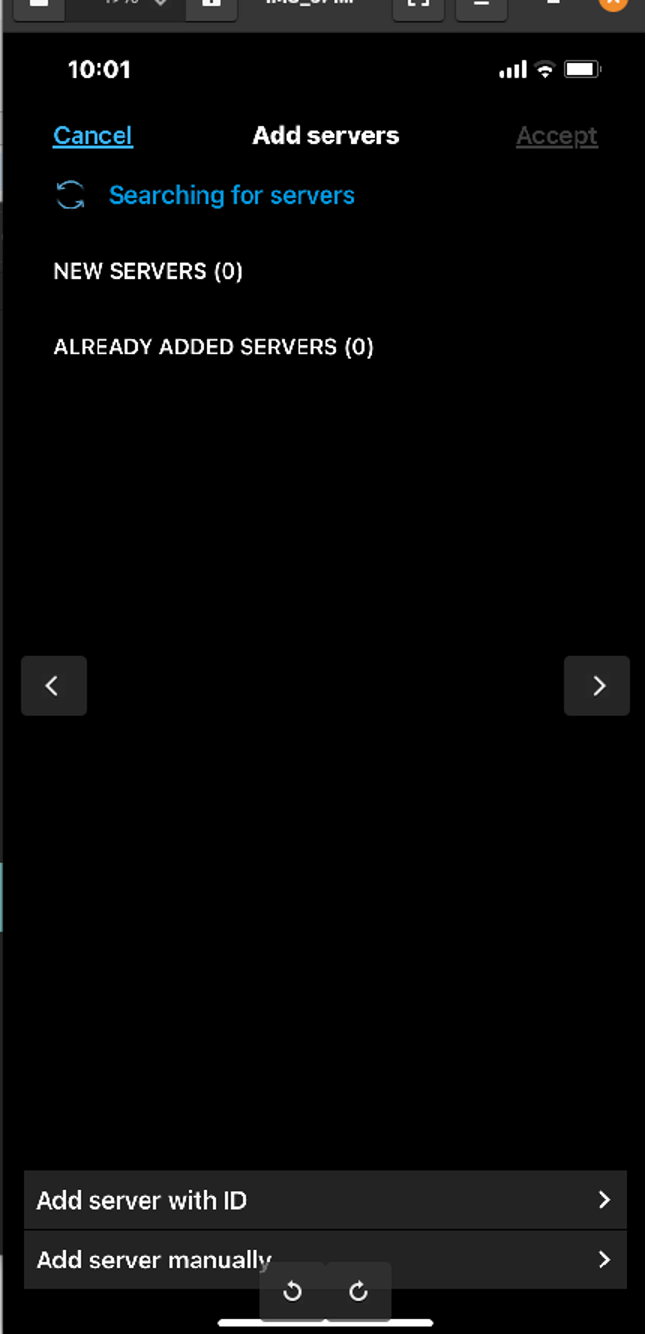
Choose to Add a server
At the bottom of the screen, choose “Add Server Manually”
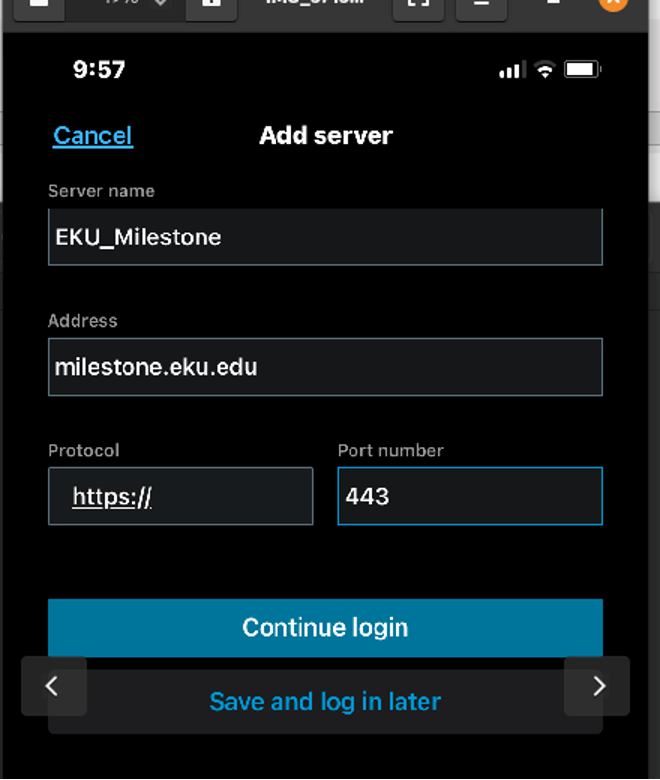
Server Name: EKU_Milestone
Address: milestone.eku.edu
Protocol: https:// (this is the default)
Port number: 443 (the default is 8082 – you will need to change this)
Click “Continue login” button
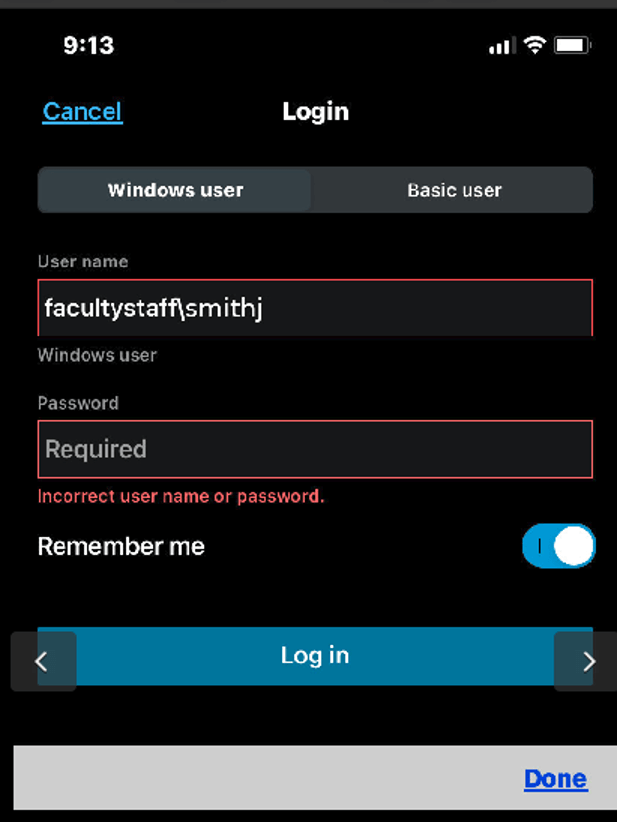
On the next screen, ensure the “Windows user” tab is highlighted
Username: facultystaff\smithj (note that facultystaff\ is required)
Password: Enter your email password here
Click Login
Common Issues
Problems connecting after a server upgrade has been completed
Scenario: At least once a year EKU upgrades to a newer version of the Milestone VMS software. After the upgrade, users on mobile devices have trouble connecting.
To fix:
Open the Milestone XProtect Application on your device
Click the Edit button at the top right of the screen
Click the red minus icon to the left of the Milestone server listed to delete that server
Follow the Configuration steps above to re-add the server again